This is Step 1 of 5 to set up your MapBuilder map.

In this tutorial you will learn:
- What is a web map?
- What functionalities does a web map have?
- How will this web map integrate with your MapBuilder map?
- How do you create your own web map in ArcGIS Online?
To start this tutorial, you need:
- An ArcGIS Online account: Read more about ArcGIS Online accounts here
This tutorial is also available on video
About the web maps on ArcGIS Online
A web map is an interactive display of geographic information organized as layers. Some of its features include: adding your data, navigation tools to pan and zoom, styling options, and sharing settings. This web map is the basis for building your own MapBuilder map.
Here is an example of a web map before being upgraded to a MapBuilder map:
Create a web map in ArcGIS Online
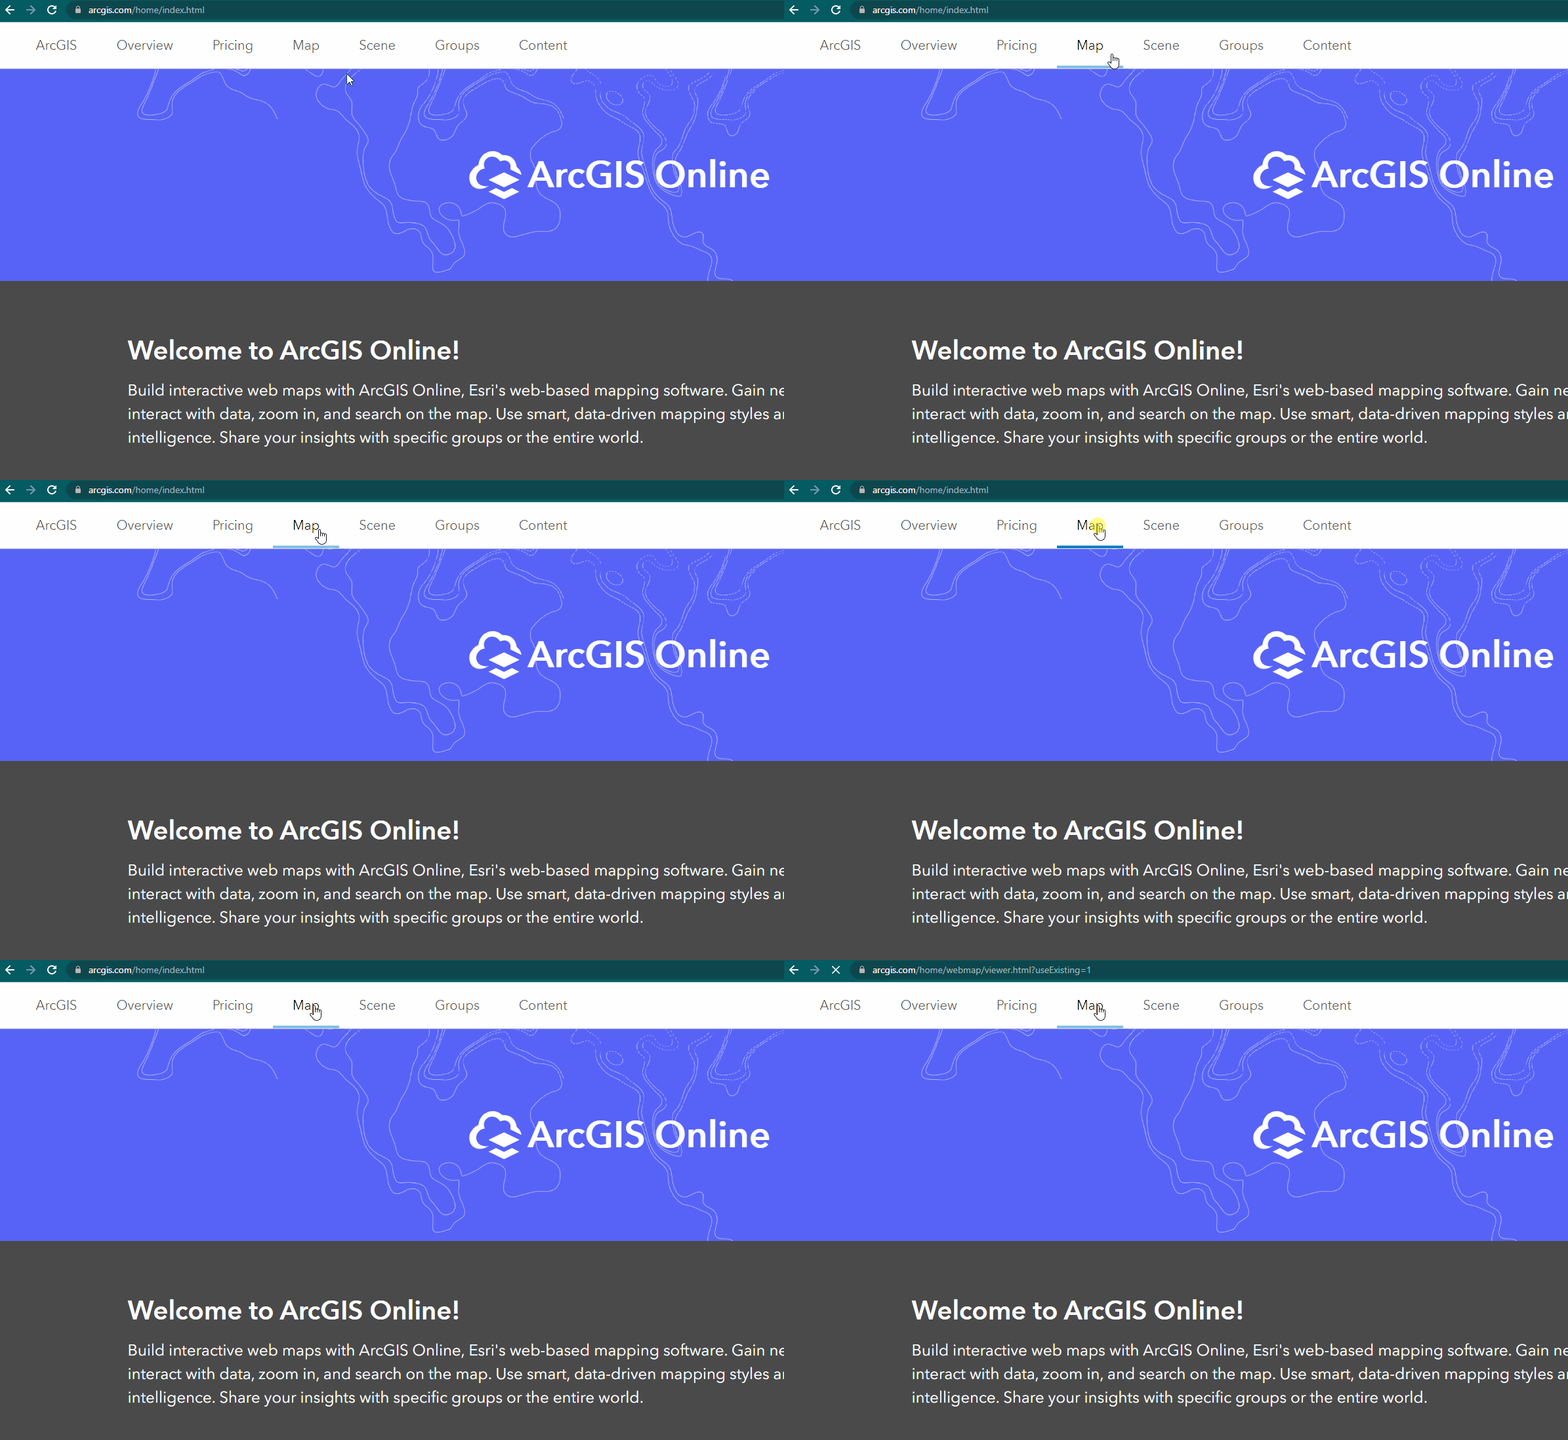
1. Go to Map Viewer in ArcGIS Online
- Navigate to ArcGIS Online and log in.
- Make sure to sign in so that you can save your map.
- Click Map on the top menu. You will be brought to a default web map that you can customize.
2. Save your web map
- After you confirm that you are using the new Map Viewer, click on the Save button in the top tool bar to open the save menu.
- Click on the Save as button.
- Enter a title for your map and click Save map.
3. (Optional) Make your web map publicly accessible
By default, your map is not publicly accessible. You will not be able to share it with others and you must be signed in to your ArcGIS Online account to view it. If you would like to change this to allow anyone to view the map:
- Click on the Share button in the top tool bar to open the share settings
- Select Everyone (public) option
- Click the Done button.
You have now completed Step 1 of 5 for creating your own MapBuilder map. Please do not close the web map tab as you will need it in the following steps. If you closed it by mistake during the process, click here.


